Thursday, November 14, 2013
Friday, November 8, 2013
Post # 12, Thoughts
I went to a photography seminar over a year ago. Instructors at this seminar included photographers featured in the National Geographic, Pulitzer Prize winners...the list goes on. I was very excited, but also nervous: who knew what these people would be like? Would they snub their noses at me for lack of creativity, lack of credence?
To my surprise, one photographer sat down next to me and my computer, looked over my shoulder, and said, "You need a card reader." (I was uploading my photos through a USB cord attached to my camera). Later he said, "You need to upload your photos in a program that will allow you to organize your photos." This photographer was Jim Richardson, who was the one who inspired one of my photographs featured earlier in this blog. I was so amazed at his willingness to help, to offer advice, and at his attitude in general. Upbeat, approachable, modest. During this seminar he spoke to the class, and recommended a photo shoot opportunity of the springtime burning of the Flint Hills at the Flying W Ranch in Chase County. I took his advice and went to this event this past April (see photos below).
My point in sharing this story is that every photographer begins somewhere. The first photos they take are usually not that great. But they keep trying and learn from others who have more experience. Nowadays, cameras are more accessible and so are the tools to learning photography; almost anyone with a camera can call themselves a photographer! What I learned from Jim Richardson was that even with so much competition these days in photography, it doesn't hurt to share your knowledge; in fact it may be an even more rewarding experience! I appreciate this attitude and hope to pass that on.


Thursday, November 7, 2013
Post # 11, People and Night Photography
As you have read this blog, you may have noticed that most of these pictures are landscapes, not necessarily portraits of people. This is an element I wish to add to my pictures: people. A problem with taking pictures of people at night or in low light is that most shutter speeds are slow, so action is blurred. This is a cool effect, if desired. Turning on the camera's flash can freeze motion, but can also be too harsh for contrast.
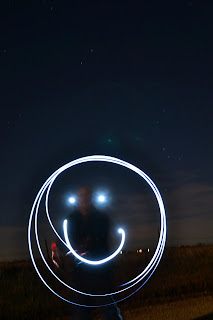
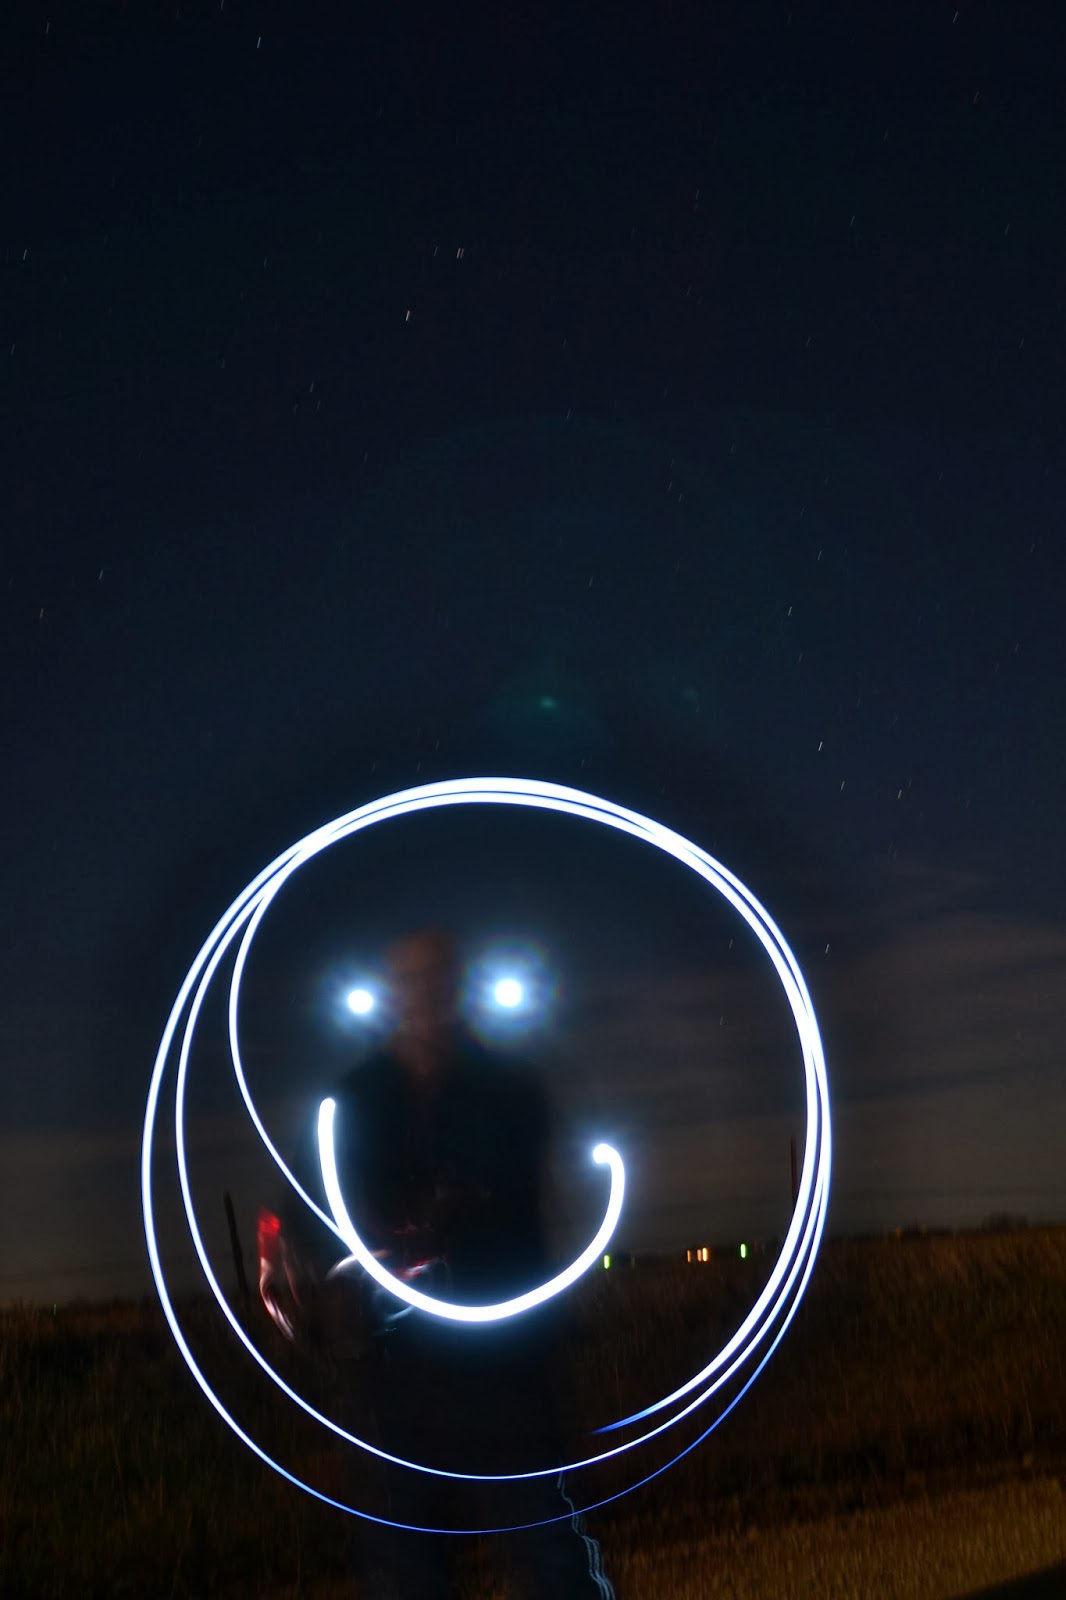
You can also combine these elements: give a friend a flashlight, take a picture for a minute or two, and let your friend move around, turning the flashlight on themselves as they move around.
Here's an example:


You can also combine these elements: give a friend a flashlight, take a picture for a minute or two, and let your friend move around, turning the flashlight on themselves as they move around.
Here's an example:

Or, have your friend make patterns in the air with the flashlight:

This picture is one I took for a photography (Darkroom Photography) class I'm taking this semester. This is me on my boardwalk outside my apartment, looking out at the night sky. I put the camera on the tripod, and set it behind me; framed the shot, set the camera to bulb, and pushed the cable release down so it would stay down for as long as I desired. I then walked into the frame, posed for 20 seconds or so, and walked back to the camera and ended the shot. I ended up with a ghostly effect:

It should be noted the light from this photo is from the building's floodlight.
In general, I would like to add more portraits of people to my portfolio, and especially photos taken at night. I think the effects you can get are pretty cool!
Friday, November 1, 2013
Post # 10, White Balance and Noise
Today I will touch on a subject that may be specific to photographers: white balance and noise. White balance refers to the color of the light in which you are shooting; daylight, especially at noon, is usually white, but sunrise and sunset usually feature a warmer orange/red tone (as the sun is at a different angle in the sky, passing through a thicker atmosphere at that time). You can adjust your camera to take pictures with this warm tone. At night, for example, I usually try to shoot in a blue tone (tungsten). However, sometimes I forget to adjust my settings, so I have to edit my pictures later.
Another thing I want to discuss is noise. My camera, a basic, entry-level DSLR has a noise-reduction feature for my higher ISO settings. ISO, you may remember, is a level of the camera's sensitivity to light. The higher the ISO, the more light it will pick up, so you can use a faster shutter speed (take less time to take a picture). However, with this heightened sensitivity comes a price: the pictures are usually "grainy", or pixelated. Even though I have turned my noise-reduction setting on, I still notice some graininess.
Here is an example of both image noise and also daylight white balance. Notice the color of the horizon; that is where I notice image noise and grain the most in this photo (but please ignore the pickup)!
Here are two photos: one shown as taken, and the other one edited to look more blue:


I do like the blue color of the sky, but editing it to this much blue may be too much, as I've lost some detail in the sky and also the rock formations. I just wanted to show the difference white balance can make!
Friday, October 25, 2013
Post #9, Autumn night skies continued
Thanksgiving is soon approaching, and I will be heading home to western Kansas for the holiday. The last two Thanksgivings have been productive for my night photography hobby. I was able to take advantage of unseasonably warm weather two years ago for a night photography session, and last year, my hometown added a fireworks display to its annual Light Parade on "Black Friday" night. (Actually, it was too dry on the Fourth of July to shoot them, so they tied in the display to Light Parade.)
Regardless, I thought this was a cool chance to take pictures of the fireworks and of people enjoying the fireworks. So I took my camera, my tripod and my cable release to the parade, and set up for the fireworks. I ended up with around 200 pictures of fireworks, and this is one of my favorites:

The moon was out last year, so I didn't take any pictures of the Milky Way, but instead I wanted to use the moonlight to illustrate the abandoned landscape of the area. My parents joined me in taking pictures at a vacant farmstead, and here are some shots I took:


Regardless, I thought this was a cool chance to take pictures of the fireworks and of people enjoying the fireworks. So I took my camera, my tripod and my cable release to the parade, and set up for the fireworks. I ended up with around 200 pictures of fireworks, and this is one of my favorites:
The moon was out last year, so I didn't take any pictures of the Milky Way, but instead I wanted to use the moonlight to illustrate the abandoned landscape of the area. My parents joined me in taking pictures at a vacant farmstead, and here are some shots I took:
I actually took several shots of this tree, hoping to stack the images together to show a time lapse. Here is a little gif of those shots!
Post # 8, Autumn night skies
With autumn comes longer nights and shorter days. In my experience, early fall has been a good time of year to take pictures at night. The temperatures are cool, yes, but they soon will be too cold for comfort (for me). The leaves will soon be gone from the trees, but for now a few have some nice fall colors. If the moon is out, I'd encourage you to take a picture a tree with its fall color. You may get some cool effects! Or, if the moon is not out, try painting the landscape with a flashlight!

Something I haven't discussed much is the position of the stars and constellations in the night sky. Orion is one constellation seen clearly during winter; usually in the southeast after sunset. The Milky Way is best viewed during the summer: its brightest clouds are viewed near the constellation Sagittarius, which can be found in the south/southeast during the summer, and in the southwest during the fall. Though the Milky Way is a bit dimmer now, you can still get a nice shot of our galaxy!
Here is a picture I took recently of the Milky Way:
Friday, October 18, 2013
Post #7, Lessons
Two weeks ago, I decided I would try to make my first time-lapse video (see previous post). Here I would like to share some lessons I learned from that experience:
1. Be Patient
Time lapse pictures are taken on intervals; when your interval is maybe one and a half minutes, by an hour, you will have maybe 40 pictures to show for that hour that passed. Passing through 40 pictures in a time lapse video will take maybe 40 seconds if you want to bore your viewers (one second for each picture). While I'm not setting out to make stunning time-lapse videos on my first attempt at this, I don't want to bore people either. So I learned to allow myself more time taking pictures, maybe two to three hours! Which leads me to...
2. Buy an Intervalometer
Can you imagine staring at your cell phone or other timer in the dark, and pressing the shutter every minute and half? Well, that is what I did my first night out: I set my stopwatch on my phone and pressed the shutter as close to a minute and half as I could get. This was a tedious process and also inaccurate. I hope to buy an intervalometer to make this process more pleasant for myself, and also, more accurate, as the shutter speed will not vary between still photos, and the intervals will be precise.
3. Plan in Advance
When I set out for this first adventure, I knew I wanted to shoot the Milky Way. I found a spot where the Milky Way was visible, but the surrounding landscape was not great. There was a radio tower in my shot; I could not get it out of frame without picking up something else distracting. Also, I wanted to take pictures shooting north, toward the North Star. The rotation of the earth is most evident around the North Star in time lapse photos. However, since I had only allowed myself an hour to shoot these pictures, I ended up shooting the Milky Way's progression for 40 minutes, and the North Star's progression for 20 minutes. So I ended up with 20 pictures for the Milky Way and maybe 10 for the other...this does not make for a long, or interesting video!
4. Post-Editing Can be Fun, but it Takes Work
Finally, with the photos I had, I set out to compile these pictures into a video. I have a monthly subscription to the Adobe Creative Cloud, with access to Photoshop and also Premiere Pro, used often for video editing and compiling. I had no experience with Premiere Pro, and looked at several tutorials on using the product, including this one:
The first thing I found out was that the landscape format is preferable in video editing. I unfortunately shot my pictures vertically. I'm still working on a solution to this, but I'm afraid I will have to crop my video to fit the preferred landscape format.
The second thing I learned is that no matter how good I think I am in learning new software, it will take work to actually pick it up. It can be frustrating to learn something new, but you have to allow yourself the patience to pick up the experience needed to learn the new software. I'm still working to learn this software; hopefully it will get better with time (as a college student, I don't have much spare time on this, sad to say!)
So these are my lessons on time-lapse photography. I hope to share a video I made by the end of the semester, or within the next year. Some of the best time-lapse videos (below) I've seen have been shot throughout months of a year.
Subscribe to:
Posts (Atom)